
How To Prepare For Your First Photo Shoot
Tue Feb 2026

Category:
A practical guide for first time studio renters on how to prep with confidence
Renting a photography studio for the first time can feel equal parts exciting and intimidating. You have got the creative vision, the client brief and the gear list in your head, but the unfamiliar studio environment can introduce uncertainty if you are not properly prepared.
This guide is designed specifically for first-time studio renters. Whether you are shooting portraits, fashion, product, or content creation for social, we will walk you through how to prepare, what to bring, and how to run a smooth, professional shoot from start to finish.
Think of this as your behind-the-scenes checklist without the stress.
Why studio preparation matters more than you think
A studio shoot is not just about a space with lights. It is a controlled environment that has been created where time, coordination, and clarity directly affect results.
Poor preparation often leads to:
- Lost shooting time
- Confusing and challenging setups either for people or product shoots
- Limited shots due to setup and delays
- Technical hiccups that could have been avoided
Good prep, on the other hand, allows you to focus on creativity and not troubleshooting.
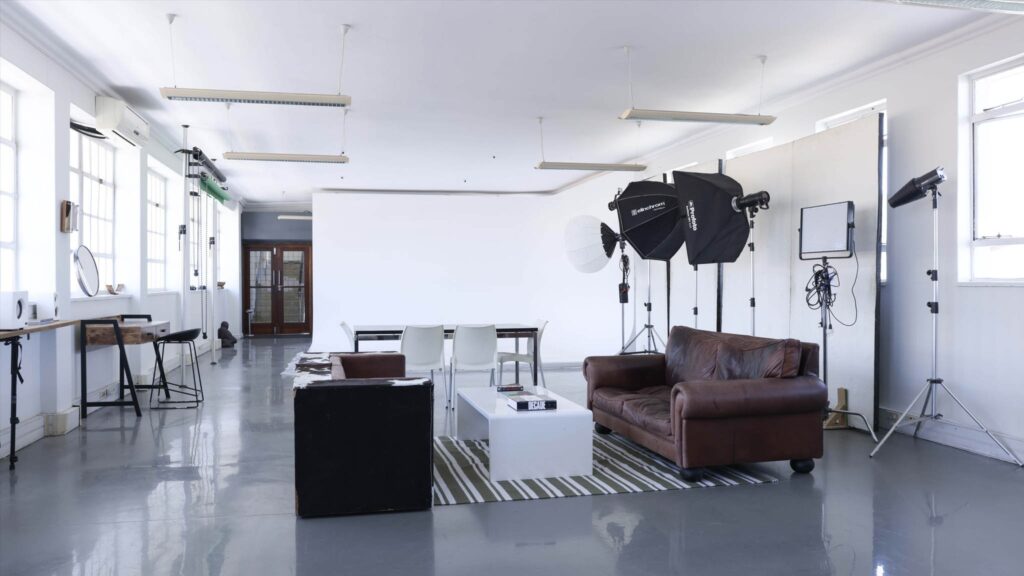
Step 1: Get to Know the Studio Ahead of Time
Before shoot day, take time to understand that the studio meets your requirements and lends itself to the brief. Studios vary widely, so assumptions are risky.
Key questions to confirm in advance:
- What lighting equipment is included (continuous, strobes, modifiers)?
- Is there natural light, and how controllable is it?
- Are backgrounds provided, or do you need to bring your own?
- Is there a changing area, makeup station, or client seating?
If possible, request a studio floor plan or reference images. Knowing the layout helps you plan camera angles, lighting positions, and subject movement efficiently. Often you will have the opportunity to view before making that booking.
Step 2: Create a simple call sheet
A call sheet is not just for large productions. Even a basic one page document helps keep everyone aligned. Communication, timing and preparation from all sides is important and needs clear.
Your call sheet should include:
- Shoot date and time
- Studio address and access notes
- Contact details for photographer and key crew
- Call times for models, makeup artists, or assistants
- Shoot objective (e.g. “Editorial portraits” or “Product catalogue”)
This single document reduces confusion and instantly elevates your professionalism.
Step 3: Lock down permissions if necessary
Nothing derails a shoot faster than legal uncertainty. when it comes to locations shoots and where people are involved
If people are being photographed, ensure you have:
- A model release signed before shooting begins
- Clear agreement on image usage (commercial, editorial, social media)
When it comes to the client, make sure the following has been clarified:
- Delivery timelines
- Usage rights
- Approval process
Having these details sorted upfront protects both you and your client, and signals that you take your work seriously.
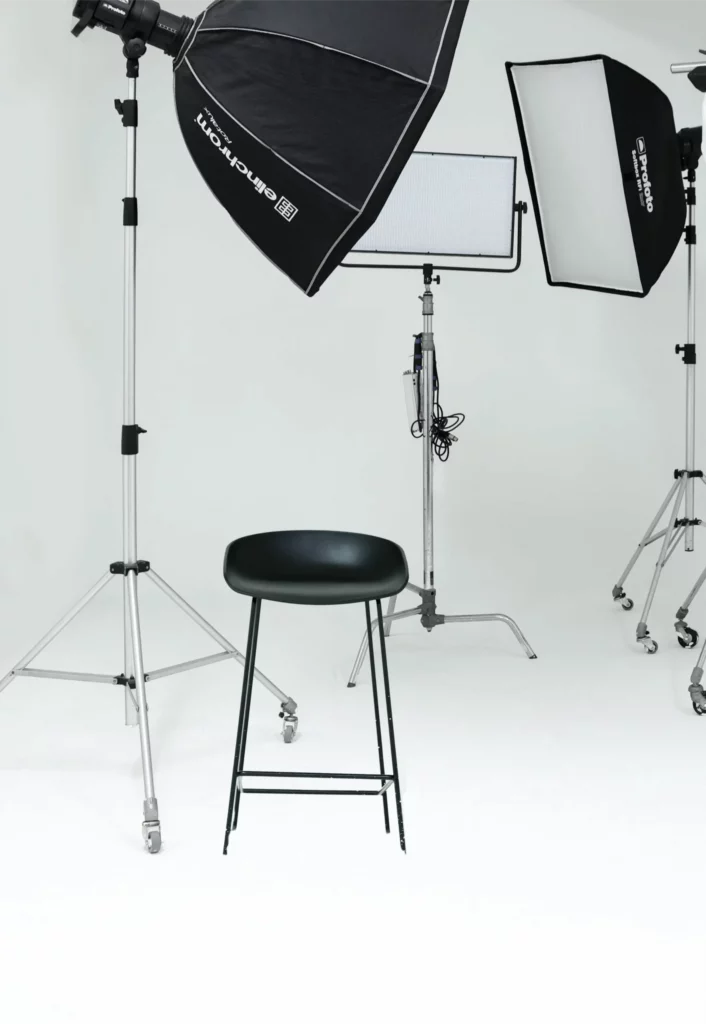
Step 4: Plan your lighting approach
If this is your first shoot, keep things simple and resist the urge to overcomplicate your lighting.
Start your setup with:
- One key light
- One modifier (softbox or umbrella)
- Optional reflector for fill
If the studio provides lighting, ask for a quick orientation when you arrive to familiarise yourself with adjusting the power, triggers, and modifiers, this will save time and prevent mistakes under pressure.
Remember that controlled lighting is one of the biggest advantages of studio shooting, but only if you understand it.
Step 5: Prepare your gear like a professional
Studios are well equipped, but your camera gear is still your responsibility.
Make sure you bring along:
- Camera body (and a backup if available)
- Lenses suited to the shoot
- Fully charged batteries
- Memory cards (formatted)
- Laptop or tablet if tethering
- Gaffer tape (always useful especially when cables are involved)
- Lens cloth and basic cleaning kit
Even if the studio has equipment available, arriving self-sufficient keeps you adaptable.
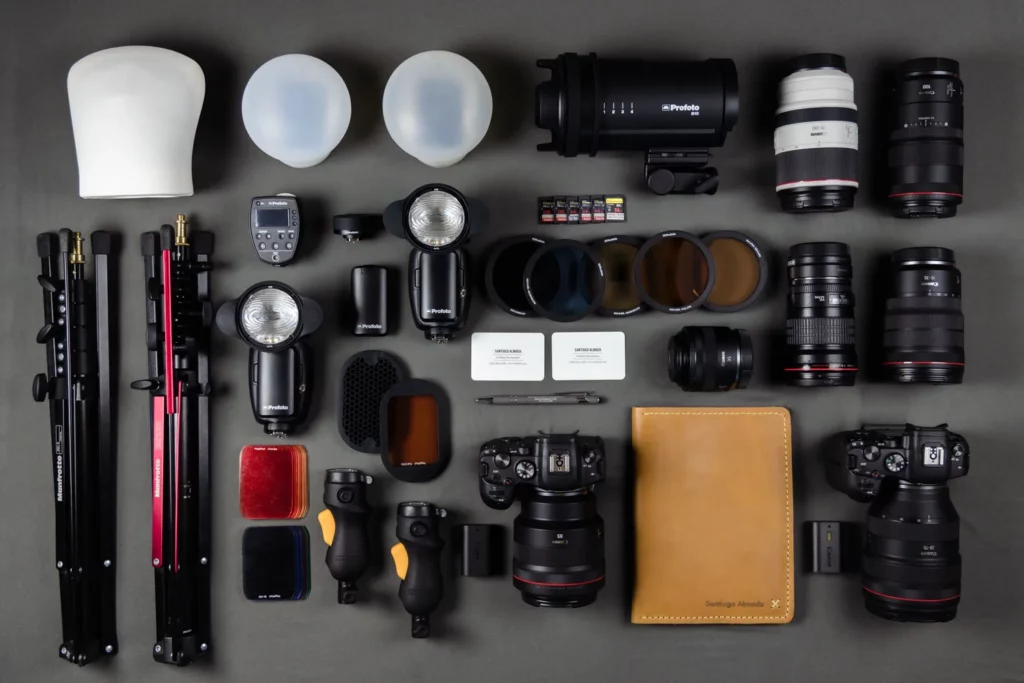
Studio Prep List
Below is a stright forward check list that should be carried out the day before the shoot:
Creative
- Shot list or mood references
- Styling notes
- Background choices
Logistics
- Call sheet sent to all participants
- Parking and access confirmed
- Arrival and wrap times planned
Paperwork
- Model release forms printed or digital
- Client usage agreement clarified
Gear
- Camera + lenses
- Batteries charged
- Memory cards cleared
- Triggers or sync cables
People
- Models briefed
- Makeup/wardrobe timings confirmed
- Client expectations aligned
Step 6: Manage time inside the studio
Studio rental time goes quickly, so allow for:
- 15–20 minutes for setup
- Short buffer for lighting tests
- Time for breaks (especially with people involved)
Work through your shot list methodically. If something is not working, adjust it in a clear and logical way without stressing. Controlled environments reward calm decision making.
Step 7: Wrap professionally
Before leaving:
- Back up files immediately
- Reset studio equipment if required
- Leave the space as you found it
Send a follow up message to your client or collaborators confirming next steps. This reinforces trust and keeps communication clean. Thank the studio, it is the professional way to build relationships.
Common first-time studio mistakes to avoid
- Overpacking gear you will not use
- Underestimating setup time
- Skipping model releases
- Assuming equipment familiarity
- Forgetting client comfort (water, seating, breaks)
Q&A: Hosting Your First Studio Photo Shoot
Do I need a call sheet for a small shoot?
Yes. Even a simple call sheet helps align expectations, timings, and responsibilities – especially when working with models or assistants.
What is a model release and why is it important?
A model release is a signed agreement granting permission to use images of a person. It protects you legally and clarifies how images can be used.
How early should I arrive at the studio?
Aim to arrive at least 15 minutes before your booking starts to familiarise yourself with the space and equipment.
Can beginners use professional studios?
Absolutely. Studios are designed for a range of experience levels. Preparation matters more than experience.
Should I rely on studio lighting or bring my own?
If the studio provides lighting, use it — but confirm what’s included and understand how it works before shooting.
One Last Thing
Your first studio shoot sets the tone for how you work professionally. Preparation is not about rigidity, it is about freedom. When logistics are handled, creativity flows.
A studio gives you control, consistency, and credibility. With the right prep, the shoot will run smoothly and exactly as planned.