
Mastering Flash Photography: Tips & Tricks
Thu Dec 2025

Category:
Flash photography is one of the most powerful yet misunderstood tools in a photographer’s kit. Many hobbyists avoid it because it feels “complicated,” while many professionals rely on it daily because it gives complete control over lighting for indoors, outdoors, or in the studio.
The truth is simple: once you learn flash photography, your creative possibilities multiply instantly.
From portraits and product shoots to events and studio sessions, mastering flash helps you produce clean, crisp, and beautifully lit images no matter the environment.
This guide will give you practical flash photography tips, breakdowns, and beginner-friendly diagrams to help you learn flash photography confidently. Whether you’re exploring the basics or levelling up, the aim is the same: take full control of your light.
1. Understanding How Flash Works
Flash photography isn’t about blasting harsh light onto a subject. It’s about shaping, controlling, and balancing light to achieve a specific mood or look.
A flash emits a short burst of light. How that light behaves depends on:
- Intensity (power)
- Distance to the subject
- Direction
- Modifiers
- Ambient light balance
Why flash matters:
- It freezes motion
- It adds catchlights to eyes
- It fills shadows
- It shapes dimension in portraits
- It makes colours pop
- It recreates studio-quality light anywhere
2. Flash Power and Distance: The Secret You Must Understand
Flash follows the Inverse Square Law, which simply means:
The closer your flash is to the subject, the softer and more intense the light becomes.
Here’s a simple diagram to help illustrate:
Flash---------------1m---------------Subject
              (bright + soft)

Flash---------------------2m--------------------Subject
              (dimmer + harder)
The Easy Way to Think About It:
Want softer light?
➡ Bring your flash closer.
Want harder or more dramatic shadows?
➡ Move your flash further back.
This rule alone can transform your portraits.
3. Direct vs. Diffused Flash: Choosing the Right Feel
Direct flash is often harsh, creating strong shadows and specular highlights. Diffused flash softens the light.
Modifiers that soften flash:
- Softbox
- Umbrella
- Dome diffuser
- Bounce card
Diagram: Direct vs Diffused Flash
A. Direct Flash
Camera → Flash
Subject → to subject
Light → harsh + sharp shadows
B. Diffused Flash with Softbox
Camera → Softbox → large light source distribution
Subject → to subject
Light → soft + flattering + even
When to use what:
- Direct flash: event photography, freezing action, bold contrast
- Diffused flash : portraits, products, beauty work
4. Mastering Bounce Flash

Bounce flash is one of the most powerful techniques for natural-looking light. Instead of pointing the flash at your subject, you bounce the light off a ceiling or wall.
Diagram: Bounce Flash
      / ceiling \
     /           \
 Flash ↗          \
       \           \ soft light ↓
        \_______________________ Subject
Why bounce flash works:
- Turns a small flash into a big soft source
- Reduces shadows
- Creates a natural daylight feel
- Removes harsh highlights
Tips for bouncing flash:
Use white or neutral surfaces
Avoid green, blue, or coloured walls (it will tint your subject)
Angle your flash at 45° upward for natural wraparound light
5. Balancing Flash With Ambient Light
This is where beginners struggle – understanding how to mix flash with the available light in the room or outdoors.
Flash exposure and ambient exposure are controlled separately:
| Setting | Controls | Affects Flash? | Affects Ambient? |
|---|---|---|---|
| Shutter Speed | Motion & background exposure | ❌ No | ✅ Yes |
| Aperture | Depth of field | ✅ Yes | ✅ Yes |
| ISO | Sensor sensitivity | ✅ Yes | ✅ Yes |
| Flash Power | Brightness of flash | ✅ Yes | ❌ No |
Simple Rule
- Want more ambient light? Slow down shutter speed.
- Want less ambient light? Speed up shutter.
- Want brighter flash? Increase power or open aperture.
Diagram: Flash + Ambient Balance
Ambient Light ← controlled by shutter speed
Flash Exposure ← controlled by power + aperture
Example scenario:
Shooting indoors with warm lamps?
Slow your shutter to bring in the warm glow, then use flash to light the subject.
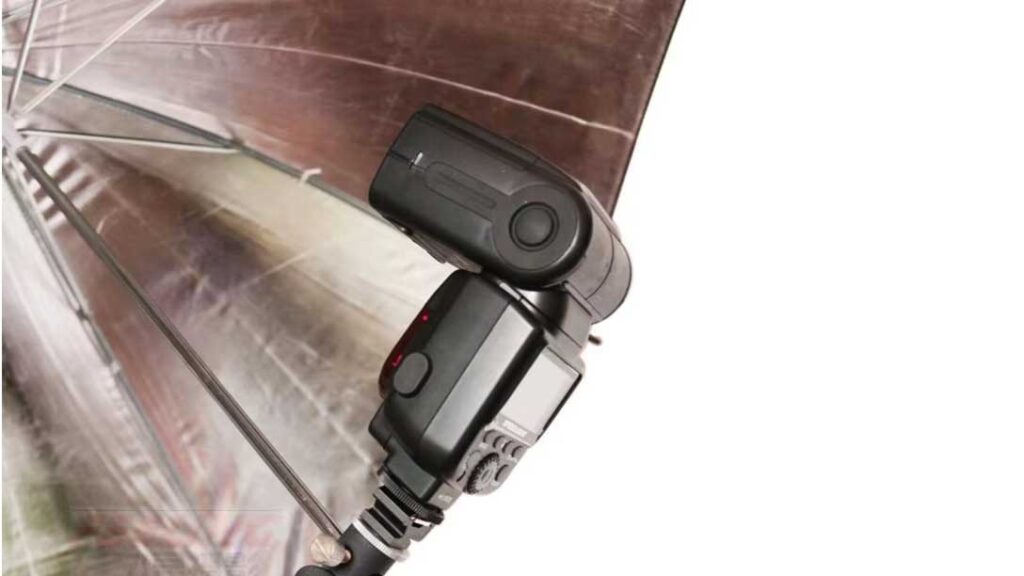
6. Off-Camera Flash: The Game Changer
The moment you move your flash off your camera, your creative options explode. You can shape dramatic shadows, create depth, and sculpt your subject like a studio photographer.
Basic off-camera 45° portrait setup
     Soft box/Flash
           /
          /   (45° angle)
         /
 Camera -----> Subject
Why off-camera flash matters:
- Adds depth
- Creates professional dimension
- Allows rim lighting
- Controls mood and intensity
- Eliminates “flat” light
If you’re serious about flash photography, this is the skill to learn.
7. Flash in Outdoor Photography
Many beginners think flash is only for dark environments, but it’s one of the best tools for outdoor shooting, especially under harsh sunlight.
Use flash outdoors to:
- Fill in shadows under the eyes
- Light subjects when the sun is behind them
- Add contrast on overcast days
- Freeze motion
- Create dramatic fashion-style lighting
Diagram: Backlit Subject With Fill Flash
         (sun behind subject)
              ↓ rim light
        Subject
              ↑ fill flash (from camera front)
 Camera  → flash
This combination creates beautiful, balanced images even in difficult light.
8. Choosing the Right Flash Mode: TTL vs Manual
TTL (Through The Lens)
The camera decides how much flash is needed.
Perfect for:
Events
Fast-paced shooting
Unpredictable subjects
Manual Mode
You control the power output yourself.
Perfect for:
Studio work
Portraits
Creative lighting
Consistency
Which should you choose?
- Beginners: Start with TTL
- Intermediate to advanced:Move to Manual for control and repeatability
9. Flash Photography Mistakes to Avoid
Many beginners struggle because they unknowingly misuse their flash. Here are common mistakes to avoid:
Using direct flash too close
Shooting flash straight at the subject indoors
Ignoring ceiling colour for bounce
Using fast shutter speeds that cancel the flash (above sync speed)
Not diffusing the light
Forgetting to consider ambient exposure
Placing the flash too far away
Fixing these issues will improve your photos instantly.
10. Flash Photography Gear Recommendations
You don’t need expensive gear to master flash photography. Start simple and upgrade as you improve.
Beginner Setup
- Speedlight flash
- Bounce card
- Basic softbox
- Trigger set
Intermediate Setup
- Wireless speedlight system
- Octabox / umbrella
- Light stands
- Strobist kit
Professional Setup
- Studio strobes
- Large softboxes (120cm or 150cm)
- Beauty dish
- Trigger with HSS/TTL
- Multiple light setup
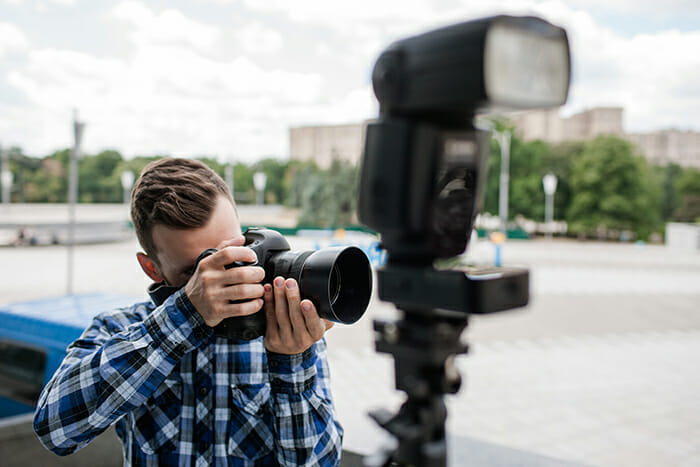
11. Workshop Advantage: Learn Flash Photography the Right Way
Flash photography is best learned hands-on. Reading concepts is helpful, but seeing how light behaves in real time is a game changer.
By attending a short flash and lighting workshop you will learn:
- How to use off-camera flash
- How to balance flash with natural light
- How to modify and sculpt light
- How to do high-speed sync
- How to shoot professional-quality portraits
- How to manage multi-light setups
The Big Picture: Mastering Flash Photography Unlocks Unlimited Creativity
Learning how to control flash gives you more than just better images, it gives you freedom. You can shoot anywhere, in any lighting condition, with consistent and professional results. Whether you’re a hobbyist wanting to improve your portraits or a professional creating studio work, flash photography elevates every image you create.
With practice, experimentation, and the right guidance, you will discover that flash is not something to fear, it’s a creative superpower waiting to be unlocked.