
Real Estate Photography: Tips for Selling Homes Faster
Mon Nov 2025

Category:
In today’s real estate market, first impressions aren’t made at the front door, they’re made online. Whether you’re a realtor trying to move listings faster or a homeowner hoping for top offers, great property photography can be the difference between a quick sale and months of waiting.
In this guide, we’ll share practical real estate photography tips that help homes sell faster, backed by real-world insights and case studies from dlphoto’s experience in Cape Town’s competitive property scene.
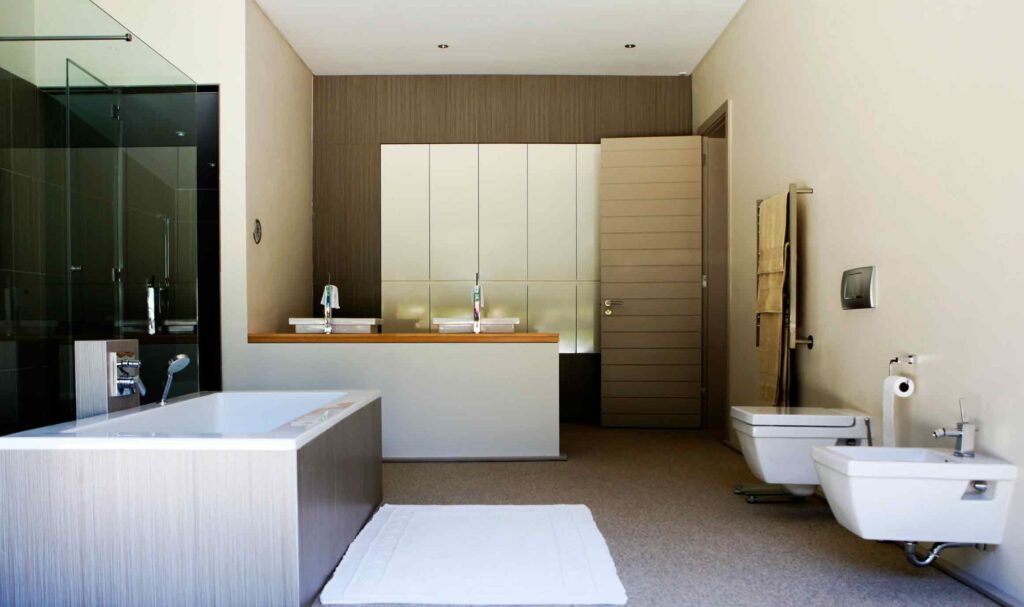
1. Why Great Property Photography Matters
Buyers make emotional decisions in seconds. According to multiple studies, listings with professional photos attract more views and sell faster than those with standard snapshots.
High-quality photos:
- Capture attention in crowded online listings.
- Increase perceived property value.
- Help potential buyers visualise their lifestyle in the space.
When potential buyers can “feel” the home before they even visit, they’re already halfway to making an offer.
Case Study 1:
Earlier this year, a Cape Town realtor approached a professional real estate photographer to reshoot a property in Green Point that had been on the market for over 90 days. The home was well-located but lacked visual appeal online. After a professional lighting setup, optimal shooting angles, and minor staging adjustments, the same listing received triple the engagement and sold within two weeks, at the asking price.
2. Prep the Property Like a Showroom
Before the camera even comes out, the space must look its best. Preparation is often what separates average photos from magazine worthy images.
Quick pre-shoot checklist:
- Declutter and depersonalise: Remove personal photos, fridge magnets, and excess décor.
- Clean thoroughly: Windows, floors, and surfaces must sparkle.
- Maximise natural light: Open blinds and curtains fully.
- Add inviting touches: Fresh flowers, neatly folded towels, or a styled coffee table which create warmth.
Case Study 2:
A homeowner in Claremont contacted a professional Cape Town based professional photographer to help them prepare their townhouse for listing. With minimal staging- a few plants, repositioned furniture, and decluttering, the space photographed twice as large but was captured to scale and in proportion. The result? Multiple offers were received in the first week.
3. Lighting: The Secret Ingredient to Every Great Shot
Lighting defines mood, depth, and quality as poor lighting can make even the best property look dull or cramped.
Professional tip: Mix natural light with controlled artificial lighting. Soft diffused lights reduce shadows and maintain a bright, inviting look.
Key lighting tips:
- Shoot during “golden hour” for warm, flattering tones.
- Use off-camera flashes or softboxes to balance interior and exterior light.
- Avoid harsh overhead lighting as it flattens textures and makes rooms appear smaller.
Tip: Make use of controlled lighting setups to achieve precise white balance across rooms. This ensures every space from the kitchen to lounge feels cohesive and naturally lit, saving time in post editing and creating a professional finish to meet the expectations of the seller.
4. Angles, Composition, and Flow
The right composition guides a viewer through a space and tells the home’s story.
Best practices for composition:
- Shoot from chest height: This keeps vertical lines straight and natural.
- Show the flow: Capture how one room leads into another.
- Use wide-angle lenses carefully: They enhance depth but can distort if overused.
- Highlight key features: A fireplace, built-in cabinetry, or ocean view deserves the spotlight.
Case Study 3:
A Constantia realtor worked with a Southern Suburbs real estate photographer to capture a high-end villa. Instead of photographing empty rooms, the team shot from strategic corners that revealed the architectural flow, living room to terrace to pool deck. These images told a visual story, resulting in a full price offer within 2 weeks of listing.
5. The Power of Detail Shots
While wide shots showcase scale, close-ups evoke emotion and aspiration. Detail photography adds lifestyle texture which shows not just the property, but the feeling of people living there.
When planning a shoot, make use of reference and story boards that bring out concepts that will improve your shoot:
- Steam rising from a coffee cup on the patio table.
- Sunlight reflecting off marble countertops.
- A soft throw on a bed or a reading nook by the window.
These images help buyers imagine daily life in the home and they also perform exceptionally well on social media and listing thumbnails.
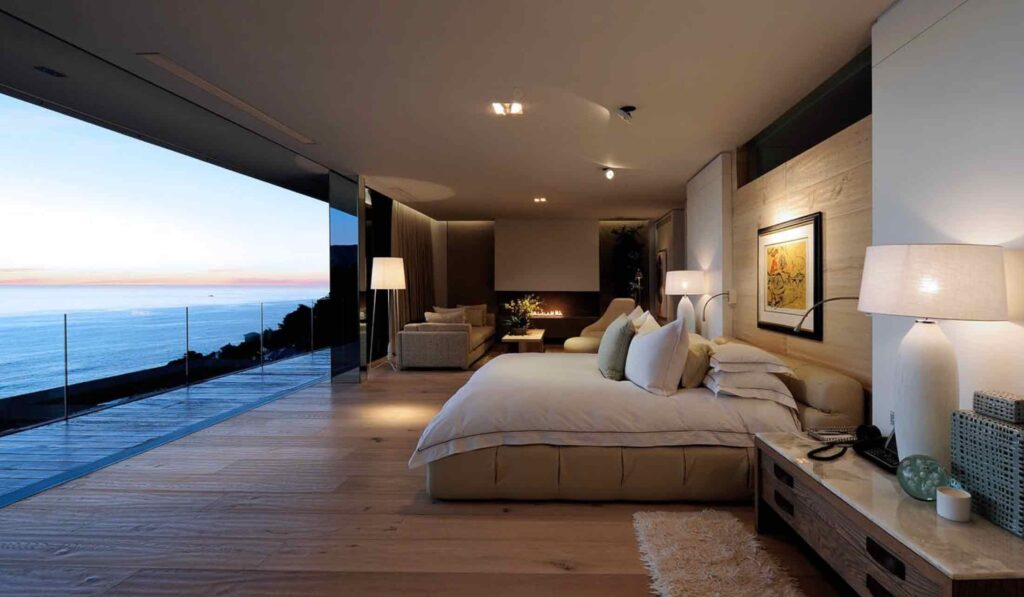
6. Editing: Where the Magic Comes Together
Editing isn’t about changing reality, it’s about enhancing what’s already there.
Professional editors correct white balance, align perspectives, and ensure consistent tone across every photo. Subtle retouching removes distractions (like power cables or wall marks), while preserving natural authenticity.
Workflow:
Most editors maintain a “real-light” approach while balancing brightness and contrast without over-processing. Buyers respond best to believable, natural-looking images that still impress at first glance.
7. Drone and Twilight Photography: Going the Extra Mile
To truly stand out, consider premium add-ons like drone or twilight photography.
- Drone shots capture scale, location, and proximity to landmarks which is ideal for coastal or estate properties.
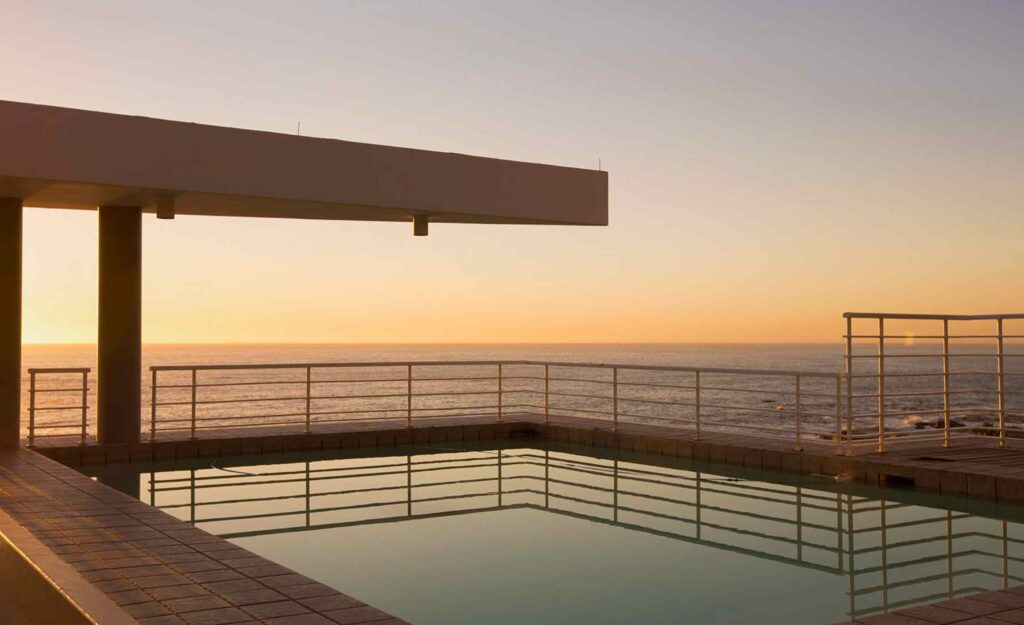
- Twilight shots add drama and warmth, showcasing outdoor lighting, pools, and landscaping.
Case Study 4:
A Blouberg beachfront property listed with twilight images by a licensed drone photographer outperformed comparable listings. The glowing pool lights and sunset sky created an aspirational atmosphere that drove record-high listing engagement online.
8. How Realtors and Homeowners Can Work Together
The best property shoots happen when everyone collaborates.
Estate Agents:
- Schedule shoots after staging or cleaning is complete.
- Share your key selling points with the photographer.
- Be present during the shoot if possible as it helps tailor shots to marketing needs.
Homeowners:
- Prepare the home a day in advance.
- Secure pets and minimise foot traffic during the session.
- Trust the photographer’s direction as they know how to present your home’s best features.
Case Study 5:
When a Sea Point agent coordinated with their preferred photographer and the homeowner in advance, the entire three bedroom shoot took under two hours. As everyone knew and was involved in the plan, they captured more usable shots in less time, leading to an efficient and stress free listing process.
9. Common Mistakes to Avoid in Property Photography
Stay focused when shooting real estate to avoid:
- Shooting in mixed lighting as this creates colour casts.
- Using vertical phone shots as this wastes frame space.
- Leaving clutter or personal items in view.
- Over-editing or adding unrealistic filters.
Remember, buyers want to believe what they see. Authenticity sells.
10. DIY vs. Professional Photography: When It’s Worth the Investment
Smartphones are powerful tools, but they can’t replace professional technique, lighting, and composition. Remember for those photographers using a smartphone, there is a big difference in the final outcome in comparison to using a professional DSLR or mirrorless camera with the appropriate lenses and quality options.
While a DIY approach might work for rentals or entry-level listings, mid-range and high value properties deserve a professional touch.
Why invest in pro photography:
- Faster sales and higher offer prices.
- Stronger online visibility and engagement.
- Credibility and brand reputation for agents.
Many sellers struggle with DIY images. Utilising the services of a professional photographer will increase your chance of selling your property at the closest asking price in the fast time, which proves that quality visuals translated directly into market confidence.
11. Maximising the Value of Your Property Photos
Once you have professional images, use them strategically:
- Update all online listings and property portals.
- Refresh social media posts with seasonal captions.
- Include them in digital brochures and email marketing.
Realtors can also use these images to build personal branding, showcasing consistent, high-quality marketing materials that reflect professionalism.
For homeowners, these photos create a timeless visual record of their property, something to keep even after the sale.
12. How to Choose the Right Photographer
When selecting a real estate photographer, look for experience, reliability, and adaptability.
Checklist for choosing a pro:
- View their portfolio: Do they capture light and space naturally?
- Ask about turnaround time: Quick delivery keeps listings fresh.
- Confirm post-production standards: Editing style should match your market.
Tip: Many professionals offer full service like shooting, editing, and delivery so you don’t have to coordinate multiple suppliers.
13. Selling Homes Faster: The Visual Advantage
Homes sell faster when photos inspire confidence and emotion. Buyers fall in love with what they can picture themselves living in.
Professional property photography bridges the emotional gap between browsing and buying. It transforms a listing from a space into a story, and that story sells.
So to Summarize: Turning Listings Into Success Stories
Whether you’re a seasoned realtor or a homeowner preparing for your first sale, investing in quality real estate photography is one of the smartest moves you can make.
From preparation to lighting, every small detail adds up to create a strong first impression that drives action.