
The Hidden Costs of DIY Podcasting (And Why a Pro Studio Saves You Money)
Thu Nov 2025

Category:
Podcasting has become one of the most effective ways to share ideas, build an audience, and grow a brand. With the rise of remote work and content creation, it’s tempting to assume that recording at home is the most cost-effective option. The logic seems straightforward: skip the studio rental, buy a microphone, maybe a few accessories, and record. But the reality is far more complex. A DIY podcast setup often hides numerous costs that quickly add up, making professional studios not just convenient but economically smarter in the long run.
This article debunks the myth that home recording is cheaper. It compares the total expense of creating a quality DIY setup including equipment, soundproofing, and editing time against the predictable flat rate of a professional podcast studio rental that guarantees high-fidelity audio.
DIY Podcast Setup Cost: The True Investment
Many creators underestimate the costs involved in building a home studio. While it may seem as simple as buying a microphone and a laptop, producing a professional sounding podcast requires a range of components, each contributing to the overall expense.
- Equipment Expenses: High-quality microphones, audio interfaces, headphones, pop filters, boom arms, and mixing hardware are essential for professional results. Even a modest setup can exceed thousands of rands. Cheaper alternatives may save money initially but often result in poor audio quality that frustrates listeners and diminishes the podcast’s impact.
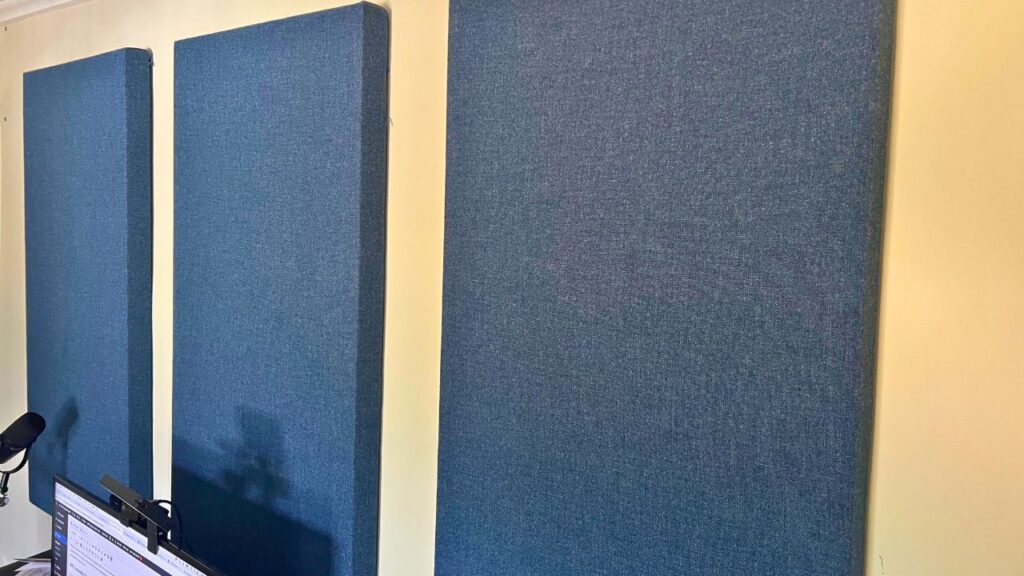
- Soundproofing Budget: Capturing clear audio requires more than a good microphone. Rooms echo, walls transmit outside noise, and untreated spaces introduce background sounds. Acoustic panels, foam, rugs, and isolation shields are necessary investments. These measures can easily cost several thousand rands, yet even with these, home acoustics rarely match a purpose-built studio.
- Software and Editing Tools: Recording software, noise reduction plugins, and editing suites are additional costs. High quality audio production requires proficiency with these tools, which often involves a learning curve and more hours invested in editing.
When you add up the expenses, the so-called “savings” of recording at home begin to shrink. Many creators overlook that high quality equipment and soundproofing are just the start without factoring in the time and effort required.

Podcasting Time Efficiency: The Hidden Cost
A significant yet frequently ignored cost of DIY podcasting is time. Time spent setting up microphones, troubleshooting audio issues, re-recording flawed segments, and learning to edit is a direct loss for content creators. Unlike a professional studio, where recording conditions are optimized, home setups introduce inefficiencies that can multiply quickly.
- Recording Time: Even minor issues with room acoustics or microphone placement can lead to multiple takes. These retakes increase overall production time.
- Editing and Post-Production: Non-ideal recording conditions create challenges in post-production. Noise reduction, balancing levels, and editing out echoes require significant effort, which can take several hours per episode.
- Technical Troubleshooting: Home setups often encounter connectivity issues, software glitches, and hardware failures. Every hour spent resolving these is an hour not spent producing content or engaging with your audience.
A professional podcast studio eliminates most of these inefficiencies. With soundproofed rooms, high-quality directional microphones, and experienced engineers, recording sessions are faster and editing demands are significantly reduced. This improvement in podcasting time efficiency translates to more episodes produced, higher quality audio, and ultimately, a better return on investment.
Professional Podcast Studio vs Home: The True Cost
Breaking down the comparison between a home setup and a professional studio reveals why studios can be more cost-effective:
| Cost Component | DIY Home Studio | Professional Studio Rental |
|---|---|---|
| Microphones & Audio Interface | R8,000+ | Included in rental |
| Acoustic Treatment | R3,000+ | Included in rental |
| Software & Editing Tools | R2,000+ | Included or optional |
| Editing & Post-Production Time | 5–10 hrs/week | Minimal / Assisted |
| Technical Troubleshooting | Frequent | Rare |
| Total Monthly Cost | Variable & unpredictable | Flat, predictable rate |
Even with an initial DIY savings, ongoing costs, inefficiencies, and hidden expenditures can make a home setup more expensive than a professional studio. The flat rental rate of a studio not only includes top-tier equipment but also guarantees a high-quality audio environment from the very first session.
High-Quality Audio Guarantee
One of the most compelling advantages of professional studios is the high-quality audio guarantee. Every recording benefits from:
- Purpose-Built Acoustic Spaces: Studios are designed to minimize echo, outside noise, and sound interference.
- Professional Microphones and Equipment: High-fidelity microphones, audio interfaces, and monitoring systems ensure clear and consistent audio.
- Expert Guidance: Studio engineers provide advice on microphone technique, levels, and delivery, which reduces errors and eliminates the need for extensive post-production editing.
This guarantee is impossible to replicate reliably in a home environment without significant investment, experience, and time- making the professional podcast recording studio a more predictable and cost-effective choice.
Studio Prep Guide Checklist
To streamline your first session and ensure optimal results The guide below will help you prepare effectively and make the most of your professional recording time. Recording in a professional podcast studio can save you hours of setup and post-production work, but preparation is still key. Use this guide to make your session efficient, productive, and stress free.
Podcast Studio Prep Guide
1. Define Your Episode Goals
- Decide on the topic and format (interview, solo, panel).
- Identify your target audience to guide tone and content.
- Prepare an episode outline or script to stay on track.
Tip: Keep segments concise and clear. Even with studio support, a focused outline prevents wasted recording time.
2. Guest & Co-Host Preparation
- Share the episode outline with your guests or co-hosts.
- Test audio/video connections if any remote participants are joining.
- Provide tips for clear vocal delivery and minimal background noise.
Tip: Encourage guests to bring headphones for monitoring if they’re recording in-studio or remotely.
3. Content Materials
- Bring any notes, references, or prompts you’ll need.
- Prepare sound effects or music cues in advance if required.
- Ensure all digital assets are ready on USB or cloud storage.
4. Recording Essentials
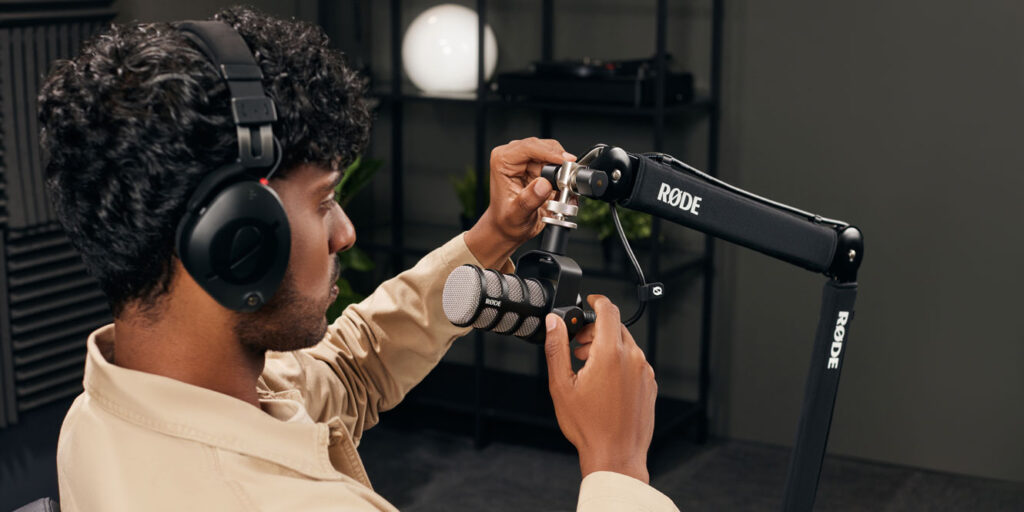
- Microphones & Headphones: Provided in the studio — but bring your preferred mic if required.
- Pop Filters & Boom Arms: Check with studio staff if adjustments are needed.
- Laptop or Recording Device: Optional, if you want to record backup tracks.
Tip: Label tracks clearly if recording multiple participants. This speeds up post-production.
5. Vocal Preparation
- Hydrate: Drink water before recording; avoid dairy or very sugary drinks.
- Warm Up: Simple vocal exercises reduce strain and improve clarity.
- Check Tone: Speak naturally and consistently for clear audio.
6. Studio Session Checklist
- Arrive 10–15 minutes early to set up.
- Discuss any specific audio preferences with the studio engineer.
- Test headphones, microphones, and recording levels before starting.
- Confirm monitoring system is set up so you can hear yourself clearly.
Tip: Take a short test recording and listen back to ensure everything is perfect.
7. Post-Recording Prep
- Confirm backup of recorded files.
- Note any time codes for edits or segments that need trimming.
- Discuss post-production services if the studio offers editing or mixing.8. Optional Enhancements
- B-Roll or Video Recording: For social media promotion if the studio supports video.
- Live Streaming Prep: If planning a live release, test connections and internet speed.
- Branding Elements: Logos, intro/outro music, or special effects pre-loaded for editing.
Book Your First Session Today
Stop spending time and money on trial-and-error home setups. By choosing a professional podcast studio, you gain:
- High-fidelity audio from the first recording
- Reduced editing and post-production time
- Professional guidance and support
- Predictable costs with no hidden expenses
Final Insight: Every DIY attempt costs not just money but also valuable time and listener engagement. Secure your session today to start producing professional quality podcasts immediately.