
What it Involves To Becoming a Professional Photographer
Thu Jul 2025

Category:
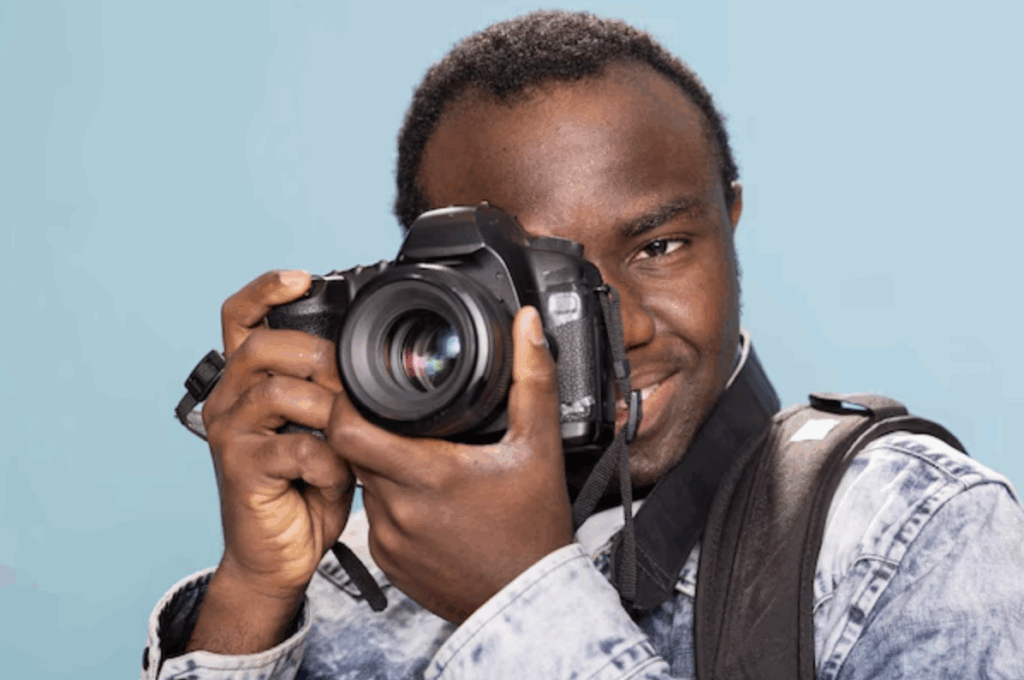
Ever wondered what it’s really like to be behind the camera? While many envision glamour, perfect lighting, and creative expression, the day-to-day reality of a professional photographer involves preparation, patience, precision and a well-equipped workspace or studio.
If you’re an amateur photographer or hobbyist, building a home photography studio can bring you closer to the professional experience without breaking the bank. In this guide, we walk you through the typical day of a professional, and more importantly, how to set up an affordable, effective home studio to sharpen your craft.
A Glimpse Into a Photographer’s Day
A professional photographer’s day is a mix of creativity, technical skill, and business savvy. Let’s break it down from the start to the end of a work day:
6:00 AM – Morning Light & Planning
Golden hour waits for no one. Many photographers plan their day around the best light. Early morning starts are perfect for outdoor portrait or landscape shoots. Others use this time to organise equipment, review mood boards, and set up the studio before client sessions.
9:00 AM – Client Shoots or Studio Sessions
In a studio setting, everything from lighting angles to backdrops is carefully considered. Whether it’s a headshot, product photography, or lifestyle shoot, attention to detail is key.
1:00 PM – Backup, Edit, Organise
After the session, photographers transfer the images, make backups, and begin the selection process before editing starts. This workflow is essential to deliver polished, high-quality work efficiently.
4:00 PM – Marketing, Invoicing, and Learning
From posting on social media to replying to client enquiries, managing a photography business is just as important as shooting. Many also use this time for self-education, such as learning new techniques or taking online or in-person courses like our Beginner to Pro Course.
7:00 PM – Review & Prep for Tomorrow
The day ends with reviewing what worked, updating gear, charging batteries and formatting cards while preparing for the next session. Photography is as much about preparation as it is about creativity.
How to Create an Affordable Home Photography Studio
Interested in building your own studio workspace? Here’s how to create a budget-friendly photography studio at home, whether you’re shooting portraits, products, or personal creative projects.
Step 1: Choose Your Space Wisely
You don’t need a warehouse. A spare room, garage, or even a section of your living room can serve as a great starting point. Look for a space with:
- Natural light access (big windows are a bonus)
- Neutral-coloured walls or backdrops
- Enough room to step back with your camera (3–4 metres ideally)
- Control over artificial lighting (like blackout curtains)
Step 2: Lighting – Natural vs. Artificial
Lighting is everything in photography. While natural light is free, it’s not always reliable. Consider this combo below for versatility:
Budget Lighting Kit (Ideal for Beginners)
- 2 x Softboxes with CFL bulbs or LED panels
- 1 x Reflector (5-in-1 collapsible)
- 1 x Light stand
These can cost under R10 000.00 total if sourced smartly and with the guidance and advice of your lecturer
Step 3: Backdrops and Backgrounds
Don’t underestimate the power of a clean background. Choose from:
- Plain white wall
- Fabric or paper roll backdrops (black, white, grey = essential starting colours)
- DIY backdrops (e.g., wooden boards, painted canvases for texture)
Use background stands or clamp them securely to walls.
Step 4: Tripod and Camera Stability
Invest in a sturdy tripod to eliminate camera shake, especially for long exposures or product shots. You don’t need the most expensive—just one that locks well and fits your camera mount.
Step 5: Budget-Friendly Camera Gear
Start with the basics. A mirrorless or DSLR camera with a decent quality kit lens (18- 135mm) is perfect. As you grow, invest in:
- 50mm f/1.8 prime lens (for portraits)
- 24 -70mm f2.8 everyday lens for professionals (highly recommended if you are on a budget for one pro lens that is versatile)
- Macro lens or extension tubes (for product/detail work)
- External flash or speed light
If purchasing gear upfront is too costly, explore hiring a photography studio where lighting is included like ours at dlphoto to test before you invest.
Step 6: Tethering & Editing Tools
Use tethered shooting via USB to see your shots instantly on your computer. Free software like Canon EOS Utility or SmartShooter is a great start.
For editing:
- Free: Snapseed (mobile), GIMP
- Paid but affordable: Lightroom, Luminar Neo
Use external hard drives or cloud storage for backups rather than your computer hard drive.
Beginner Photography Tips for Success at Home
Even with the best gear, skill matters. Keep these tips in mind as you shoot:
1. Learn Manual Mode Early
Don’t rely on Auto. Understand the exposure triangle – ISO, shutter speed, aperture are the primary basics to take control of your images.
2. Use One Light to Start
Master one light before introducing others. Learn how light falls and how shadows shape the subject.
3. Keep It Simple
Don’t overwhelm yourself with props and complex setups. Start with one subject, one light, and one backdrop and build from this. Keep it clean and simple.
4. Review and Reflect
After each shoot, review your images as to what worked and where there is need for improvement. Take notes and compare progress week to week.
5. Join a Course or Workshop
Fast-track your learning with hands-on guidance. Our tailored course from beginner to pro is ideal for home studio users.
It’s About Practice, Not Perfection
Setting up a home photography studio may feel overwhelming, but remember that every professional started somewhere. With just a few key tools and an understanding of light and composition, you can start producing quality, professional-looking images at home.
Being behind the lens isn’t just about gear, it’s about vision, consistency, and practice. Invest in yourself, keep learning, and enjoy the creative journey.
Don’t just dream it – build it. Whether you want to try new gear or book hands-on training, we’re here to help.