
Why Beginner Photographers Should Learn Manual Mode
Thu Jan 2026

Category:
A step-by-step guide to moving off Auto mode
For many beginner photographers, the Auto mode on a camera feels safe and very convenient. You point, you shoot, and the camera decides everything for you. And while Auto mode is useful when you are starting out, it also limits your creative control and understanding of how photography really works.
If you’ve ever wondered why your photos don’t look the way you imagined, or why the background isn’t blurred, the subject isn’t sharp, or the image looks too dark or too flat, the answer usually lies in the fact that the camera is making decisions instead of you.
This guide will walk you step by step from Auto mode into Manual mode, explaining what changes, why it matters, and how to make the transition without feeling overwhelmed in a very simple way.
Step 1: Understand What Auto Mode Actually Does
In Auto mode, your camera controls everything:
- Shutter speed
- Aperture
- ISO
- Focus mode
- White balance
It analyses the scene and aims for what it thinks is a “correct” exposure. The problem is that the camera doesn’t understand intent. It doesn’t know whether you want:
- A blurry background
- A frozen moment
- Motion blur
- A dramatic low-light mood
It only aims for average. This is why Auto mode often produces photos that are technically acceptable but creatively flat.
Key limitation: You are reacting to results generated instead of creating them.
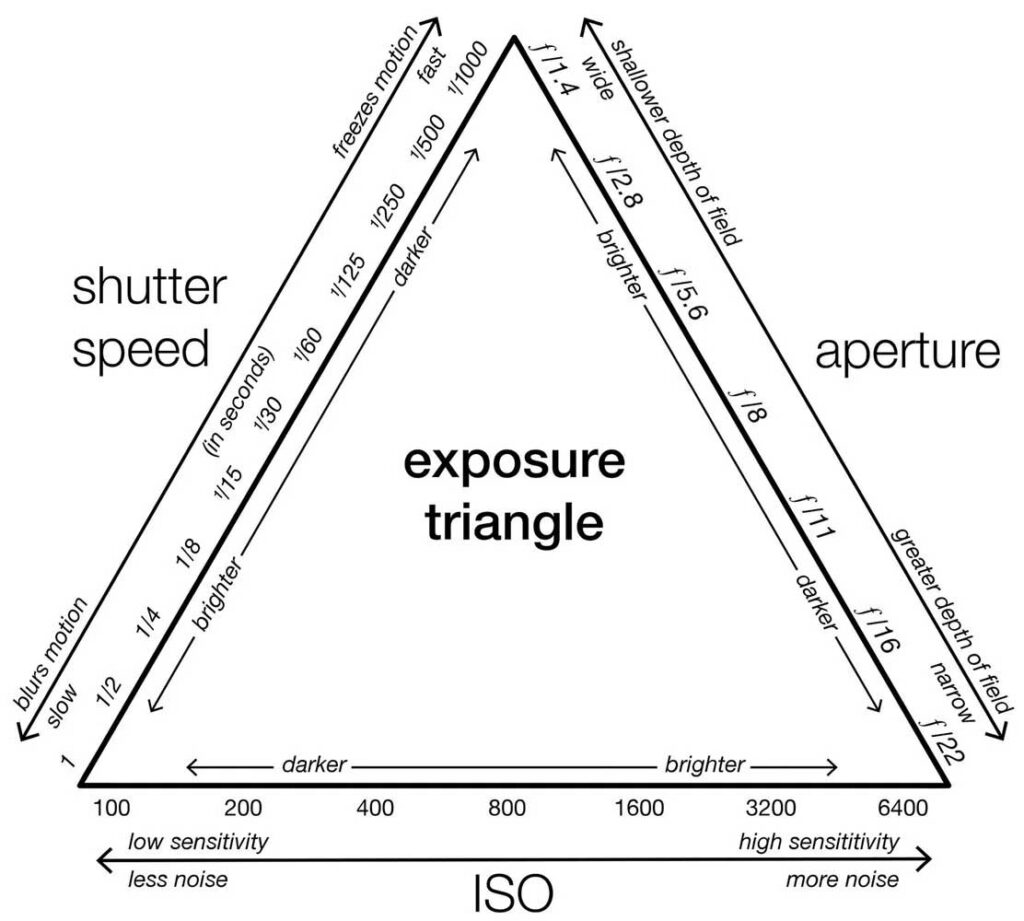
Step 2: Learn the Exposure Triangle (The Core of Manual Mode)
Before switching to Manual, you need to understand the Exposure Triangle. This is the foundation of all photography:
1. Aperture (f-stop)
Aperture controls:
- How much light enters the lens
- How blurred or sharp the background appears
- Wide aperture (f/1.8 – f/2.8): More light, blurry background
- Narrow aperture (f/8 – f/16): Less light, more in focus
Creative impact: Depth of field.
2. Shutter Speed
Shutter speed controls:
- How long light hits the sensor
- How motion appears in your image
- Fast shutter (1/500 – 1/1000): Freezes action
- Slow shutter (1/30 – several seconds): Motion blur
Creative impact: Motion control.
3. ISO
ISO controls:
- The camera’s sensitivity to light
- Low ISO (100–200): Clean image
- High ISO (1600+): Brighter image but more grain
Creative impact: Image quality vs brightness.
Manual mode allows you to balance all three instead of the camera guessing.
Step 3: Start with The Semi-Auto Modes (Your Training Wheels)
You do not need to jump straight into full Manual mode. Most beginners progress faster by using semi-automatic modes first. (However, I would suggest transitioning straight across to maual and taking full control of your shot)
Aperture Priority (A or Av)
You choose:
- Aperture
The camera chooses:
- Shutter speed
This is ideal for:
- Portraits
- Street photography
- Travel photography
You learn how aperture affects background blur while the camera helps with exposure.
Shutter Priority (S or Tv)
You choose:
- Shutter speed
The camera chooses:
- Aperture
This is ideal for:
- Sports
- Moving subjects
- Low-light handheld shooting
These modes help you understand cause and effect before taking full control.
Step 4: Switch to Manual Mode (M)
Once you’re comfortable with how aperture, shutter speed, and ISO interact, it’s time to move to Manual mode.
In Manual mode:
- You control all exposure settings
- The camera only meters the scene
A simple Manual workflow for beginners:
- Set ISO first
Start at ISO 100 outdoors or ISO 400–800 indoors. - Choose aperture based on creativity
- Portrait: f/2.8 – f/4
- Landscape: f/8 – f/11
- Adjust shutter speed to balance exposure
Watch the exposure meter and adjust until centred.
This method keeps things logical and avoids random guessing.
Step 5: Use the Light Meter (Not Guesswork)
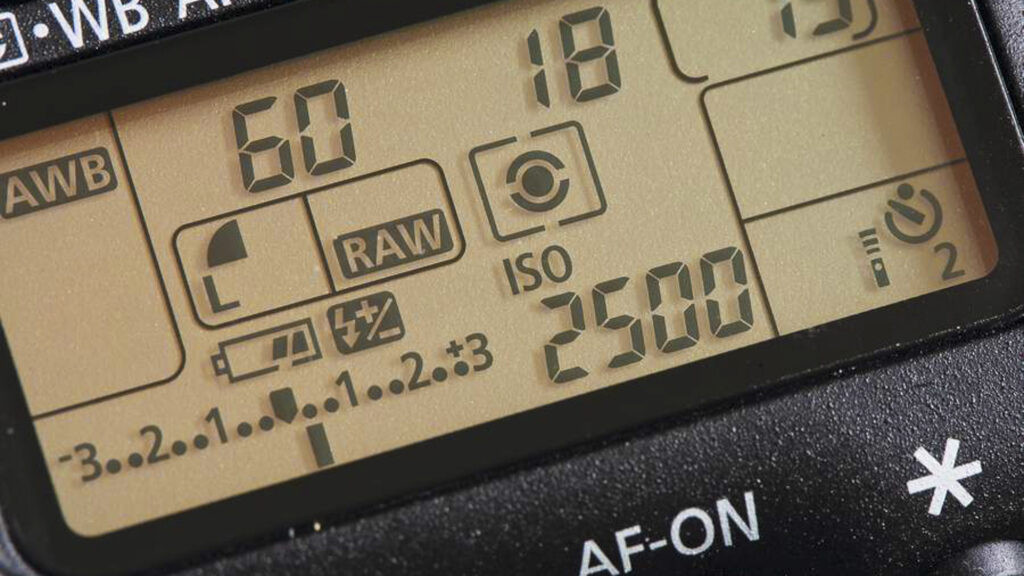
Your camera’s built-in light meter shows whether the image is underexposed, overexposed, or balanced.
–means too dark+means too bright0means balanced
As a beginner, aim for near 0, then adjust creatively once you gain confidence.
Manual mode is not about perfection — it’s about intentional control.
Step 6: Focus and White Balance (Often Overlooked)
When you leave Auto mode, you should also pay attention to:
Focus Mode
- Single AF: Still subjects
- Continuous AF: Moving subjects
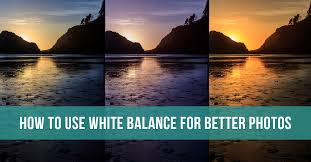
White Balance
Auto white balance is usually fine, but understanding presets (Daylight, Shade, Tungsten) helps achieve consistent colour, especially indoors.
Step 7: Practise with Simple Exercises
The fastest way to learn Manual mode is through intentional practice.
Try this exercise:
- Photograph the same subject
- Change only one setting at a time
- Review the results
This trains your eye to see how settings affect the image, not just the numbers.
Step 8: Why Beginners Struggle with Manual (And How to Fix It)
Common beginner frustrations:
- Images too dark or bright
- Blurry photos
- Overthinking settings
The solution isn’t more theory, rather it is guided practice with feedback.
This is why structured beginner p[photography courses accelerate learning far more than trial and error.
Step 9: When Manual Mode Truly Makes Sense
Manual mode is most useful when:
- Lighting doesn’t change
- You want consistent results
- You’re shooting in a studio
- You want full creative control
You will still use Aperture or Shutter Priority at times, and that’s perfectly normal.
Certain professional photographers will switch modes intentionally, not out of habit.
Final Thoughts: Control Beats Convenience
Auto mode teaches you how to take a photo.
Manual mode teaches you why it looks the way it does.
Moving from Auto to Manual is not about complexity, it’s about confidence, consistency, and creative freedom.
If you want hands-on guidance, real time feedback, and a structured learning path, explore our Beginner Photography Courses where we take you step by step from camera basics to confident Manual shooting.