
Why Learning To Shoot In Manual Is The Answer To Taking Great Photographs
Wed Feb 2026

Category:
Master the exposure triangle to stop using Auto, and start making deliberate creative choices.
Manual mode has a reputation for being intimidating, technical, and best left to “serious” photographers. In reality, it is simply the point where you stop letting your camera guess and start telling it exactly what you want. Once you understand how ISO, aperture, and shutter speed work together, manual mode becomes logical, predictable, and surprisingly freeing.
This guide is designed for beginners who want to pursue photography and hobbyists who want to build confidence, not overwhelm themselves with jargon. By the end, you will know how the exposure triangle works, when to prioritise each setting, and how to move away from Auto.

Why Auto Mode Holds You Back
Auto mode is useful when speed matters and perfection doesn’t. The problem is that the camera has no idea why you are taking a photo.
Your camera is clueless and cannot read your mind in situations where:
- The motion should be frozen or blurred
- The shallow depth of field matters more than sharpness from edge-to-edge
- Which part of the scene is actually important
The auto mode exposes for averages. Manual mode exposes for intent. Once you start noticing missed shots, blown highlights, muddy shadows, unwanted motion blur , you are already ready for manual control.
The Exposure Triangle Explained (Simply explained)
At the heart of manual photography is the exposure triangle: ISO, aperture, and shutter speed. These three settings control how light reaches the sensor. Change one, and at least one other must compensate. Think of exposure as a balance, not a checklist.
Aperture: Controlling Depth and Focus
Aperture is the opening in your lens. It affects two things at once:
- How much light enters the camera
- How much of the scene appears in focus
A wide aperture (like f/1.8 or f/2.8):
- Lets in more light
- Creates a blurred background
- Is ideal for portraits and low light
A narrow aperture (like f/8 or f/11):
- Lets in less light
- Keeps more of the scene sharp
- Works well for landscapes and architecture
Beginner tip: Choose aperture first when depth of field matters more than anything else.
Shutter Speed: Freezing or Showing Motion
Shutter speed controls how long the sensor is exposed to light.
Fast shutter speeds (1/500 and above):
- Freeze movement
- Reduce camera shake
- Are useful for sports, wildlife, and street photography
Slow shutter speeds (1/30 and below):
- Allow motion blur
- Capture light trails or flowing water
- Require steady hands or a tripod
A beginners tip… if your images look soft or blurry, try increasing your shutter speed.
ISO: Light Sensitivity
ISO determines how sensitive your camera sensor is to light.
Low ISO (100–200):
- Produces clean images
- Preserves detail
- Is best for bright conditions
High ISO (1600+):
- Brightens dark scenes
- Introduces digital noise
- Is useful when light is limited and motion matters
Modern cameras handle ISO far better than older models, but noise is still a creative compromise.
Tip 2 for beginners: Increase ISO only when aperture and shutter speed can’t solve the problem, and never push it to high or your images will be noisy.
Using an Exposure Chart as a Training Tool
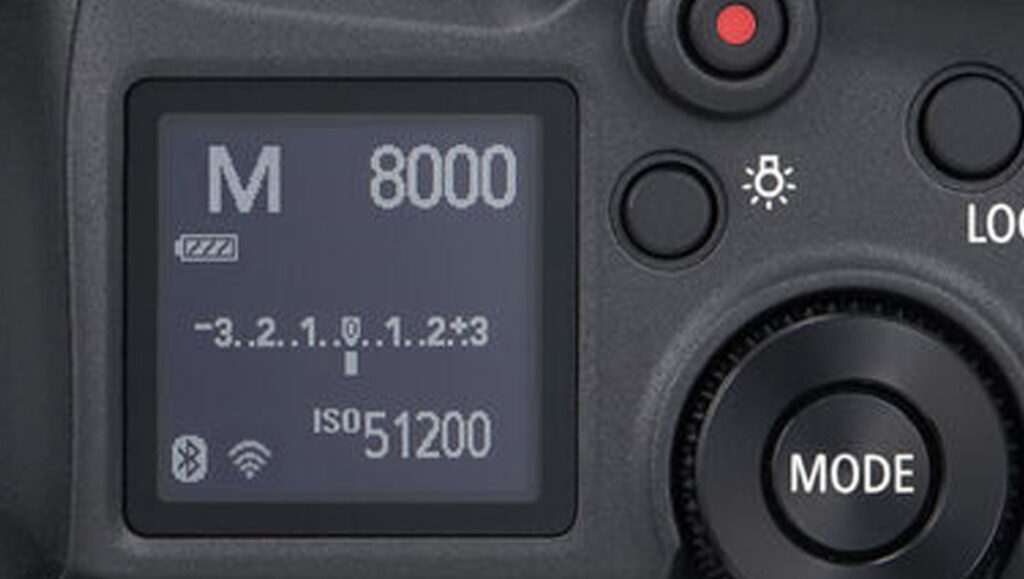
An exposure chart shows how different combinations of ISO, aperture, and shutter speed can result in the same overall exposure. It is not about memorising numbers. It’s about recognising patterns. You will need to spend time practising with a chart beside you and eventually, the relationship will become instinctive.
For example:
- Opening your aperture one stop means you can double your shutter speed
- Increasing ISO allows you to keep motion sharp without changing depth of field
A Simple Way to Shoot in Manual Mode
If manual mode feels overwhelming, follow this order:
- Decide what matters most (depth, motion, or cleanliness)
- Set aperture or shutter speed accordingly
- Adjust ISO to balance the exposure
- Fine-tune using the light meter
You do not need perfection on the first frame. Digital photography rewards iteration.
Common Beginner Mistakes and How to Fix Them
Everything is too dark
Your shutter speed may be too fast or ISO too low. Compensate deliberately.
Background is too sharp
Open your aperture and move slightly closer to your subject.
Images look grainy
Lower ISO and stabilise the camera instead of relying on sensitivity.
Why Manual Mode Builds Real Confidence
Manual mode teaches you how light behaves and that understanding will transfer to every camera you will ever use.
It also makes semi-automatic modes (aperture priority and shutter priority) far more powerful once you return to them with intention.
If you want structured guidance, hands-on feedback, and faster progress, exploring in-person photography classes can dramatically shorten the learning curve, especially when concepts like exposure are demonstrated in real time.
You may also want to revisit the foundational breakdown in a know-your-camera short course to reinforce how controls, dials, and metering work together.
Frequently Asked Questions
What is manual mode in photography?
Manual mode is a camera setting where the photographer controls ISO, aperture, and shutter speed instead of letting the camera decide automatically.
Is manual mode better than Auto?
Manual mode is not always “better,” but it offers consistency and creative control. Auto is useful for speed, while manual excels when intention matters.
Which setting should beginners adjust first?
Aperture or shutter speed should usually be set first, depending on whether depth of field or motion is more important in the scene.
Does using manual mode improve photography skills?
Yes. Manual mode builds a deeper understanding of light, exposure, and camera behaviour, which improves decision-making across all shooting modes.
Is ISO bad for image quality?
ISO itself isn’t bad, but higher values increase noise. Modern cameras manage this well, making ISO a flexible tool rather than something to fear.
Can I still use the light meter in manual mode?
Absolutely. The light meter is a guide, not a rule. Manual mode allows you to choose when to follow or ignore it.
Parting Thought
Manual mode is not about complexity, it’s about clarity. When you understand the exposure triangle, you stop guessing and start creating. Take it one setting at a time, practise intentionally, and let your mistakes teach you faster than Auto ever could.
Take this with you on your journey – Control doesn’t limit creativity. It unlocks it. Entry-level photography is the ideal place to start your photgraphic journey.